Running the demo scenarios
In each demo scenario, you can see the results of the operations you perform:
- The Android application presents readout messages.
- The K64F signals the simulated operations with different colored LEDs:
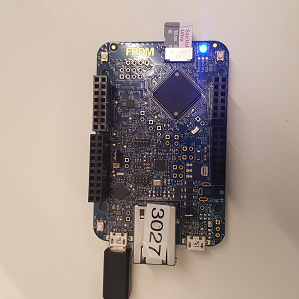
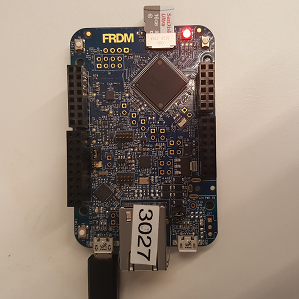
- Green
 – Ready to receive a command.
 - Blue
 (blinks for 10 seconds) – Reading data.
 - White
 (blinks for 10 seconds) – Configuring data.
 - Cyan
 (blinks for 10 seconds) – Updating data.
 - Red
 (blinks for 10 seconds) – Operation denied.
- Green
Scenario 1: Technician 1 requests permission to perform all operations
-
From your Android device, log in to your Device Management account using the credentials of Technician 1.
-
Tap the hamburger button, and then tap User Settings. Enter your account ID and cloud URL.
-
Tap the hamburger button, and then tap Demo Profile > Mwc.
-
Select all checkboxes to request permission to all operations.
-
Tap Get permissions.
You should receive notification of success.

Note: Steps 1-5 require an internet connection to communicate with Device Management. In step 6, you connect directly to the device using a USB or OTG cable; from this point on, an internet connection is not required.
-
Connect the phone to the K64F:
-
Connect the OTG cable to the Android phone.
-
Connect the micro-USB to USB Type B cable to the K64F IoT device.
-
Connect the USB ends of the two cables.
The device initializes and displays a green LED when it is ready.
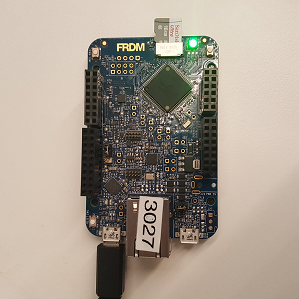
The Android application displays a message indicating that the USB device is connected.
-
Tap OK.
-
-
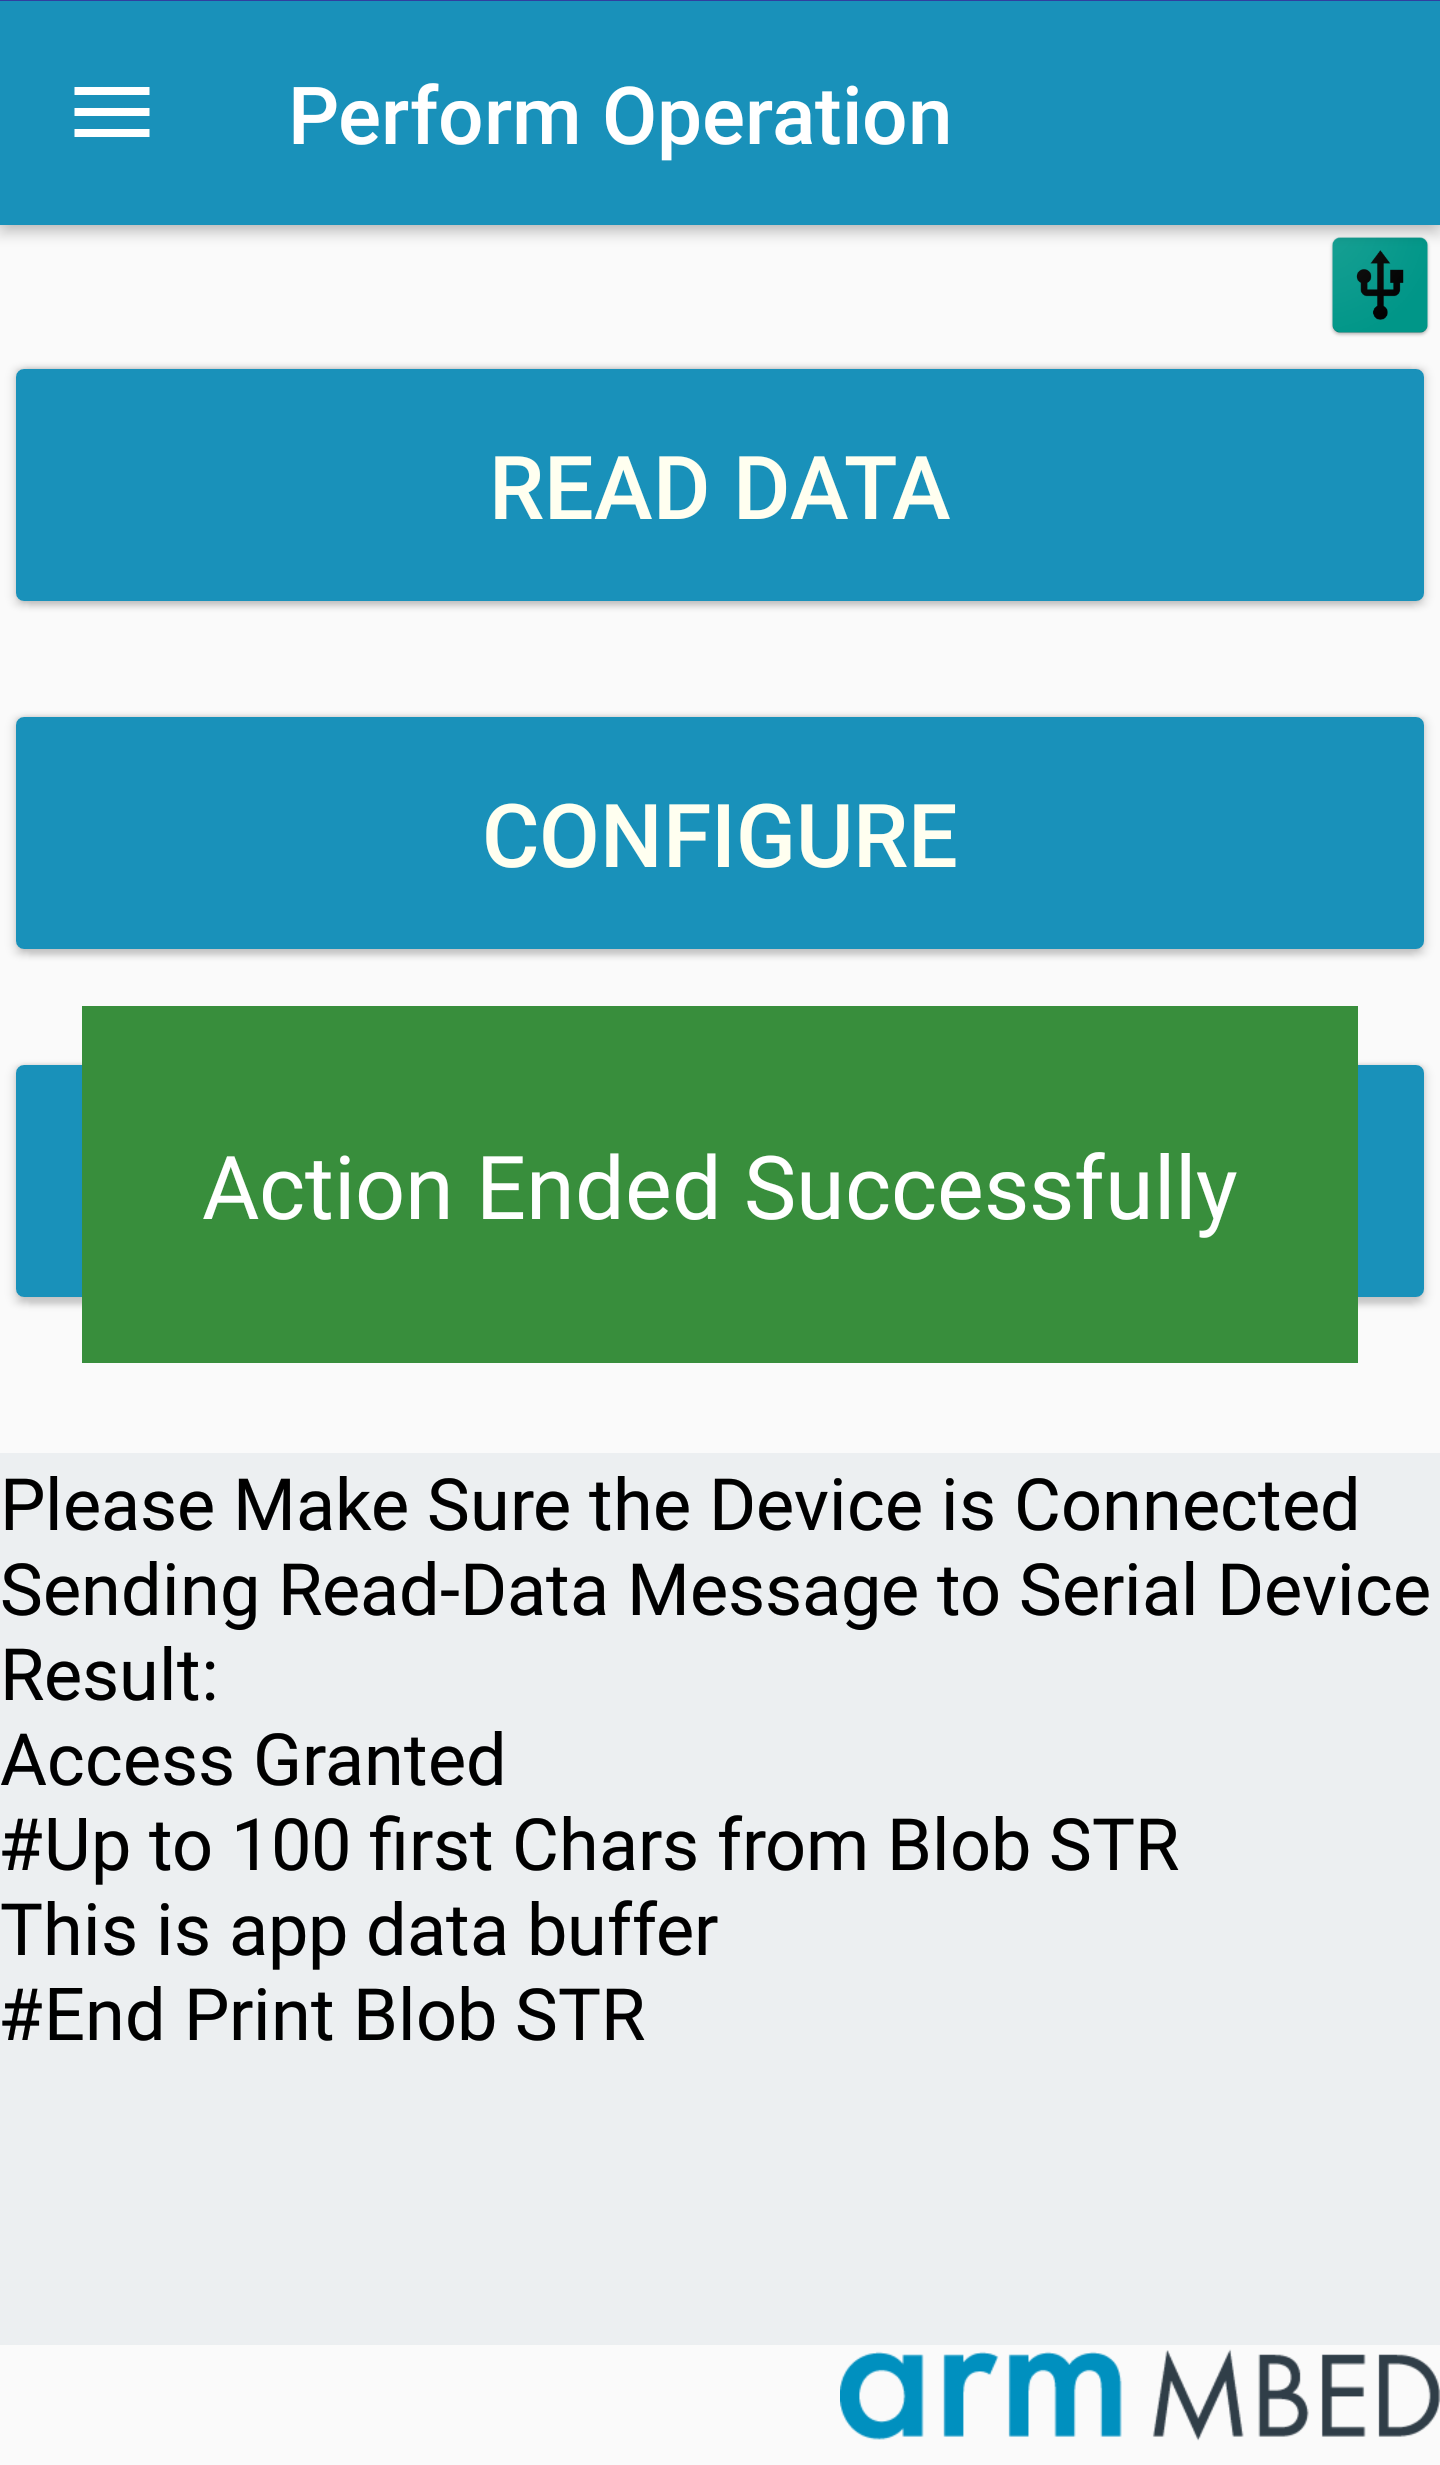
Tap Read data.
The device blinks a blue LED for 10 seconds.
The application displays an "Action Ended Successfully" message when the read operation is complete.
-
To view the device log for the operation:
- Open the file explorer on your Android device.
- Navigate to the Download directory in the device file system.
- Open the
Mbed_log.txtfile.
Scenario 2: Technician 1 requests permission to perform one operation but tries to perform another
-
From your Android device, log in to your Device Management account using the credentials of Technician 1.
-
Select the Read data checkbox, and tap Get permissions.
You should receive notification of success.
-
Connect the phone to the K64F, as explained in scenario 1.
-
Tap Read data.
The application displays an "Action Ended Successfully" message when the read operation is complete. You can view the device log file for the operation, as described in scenario 1.
-
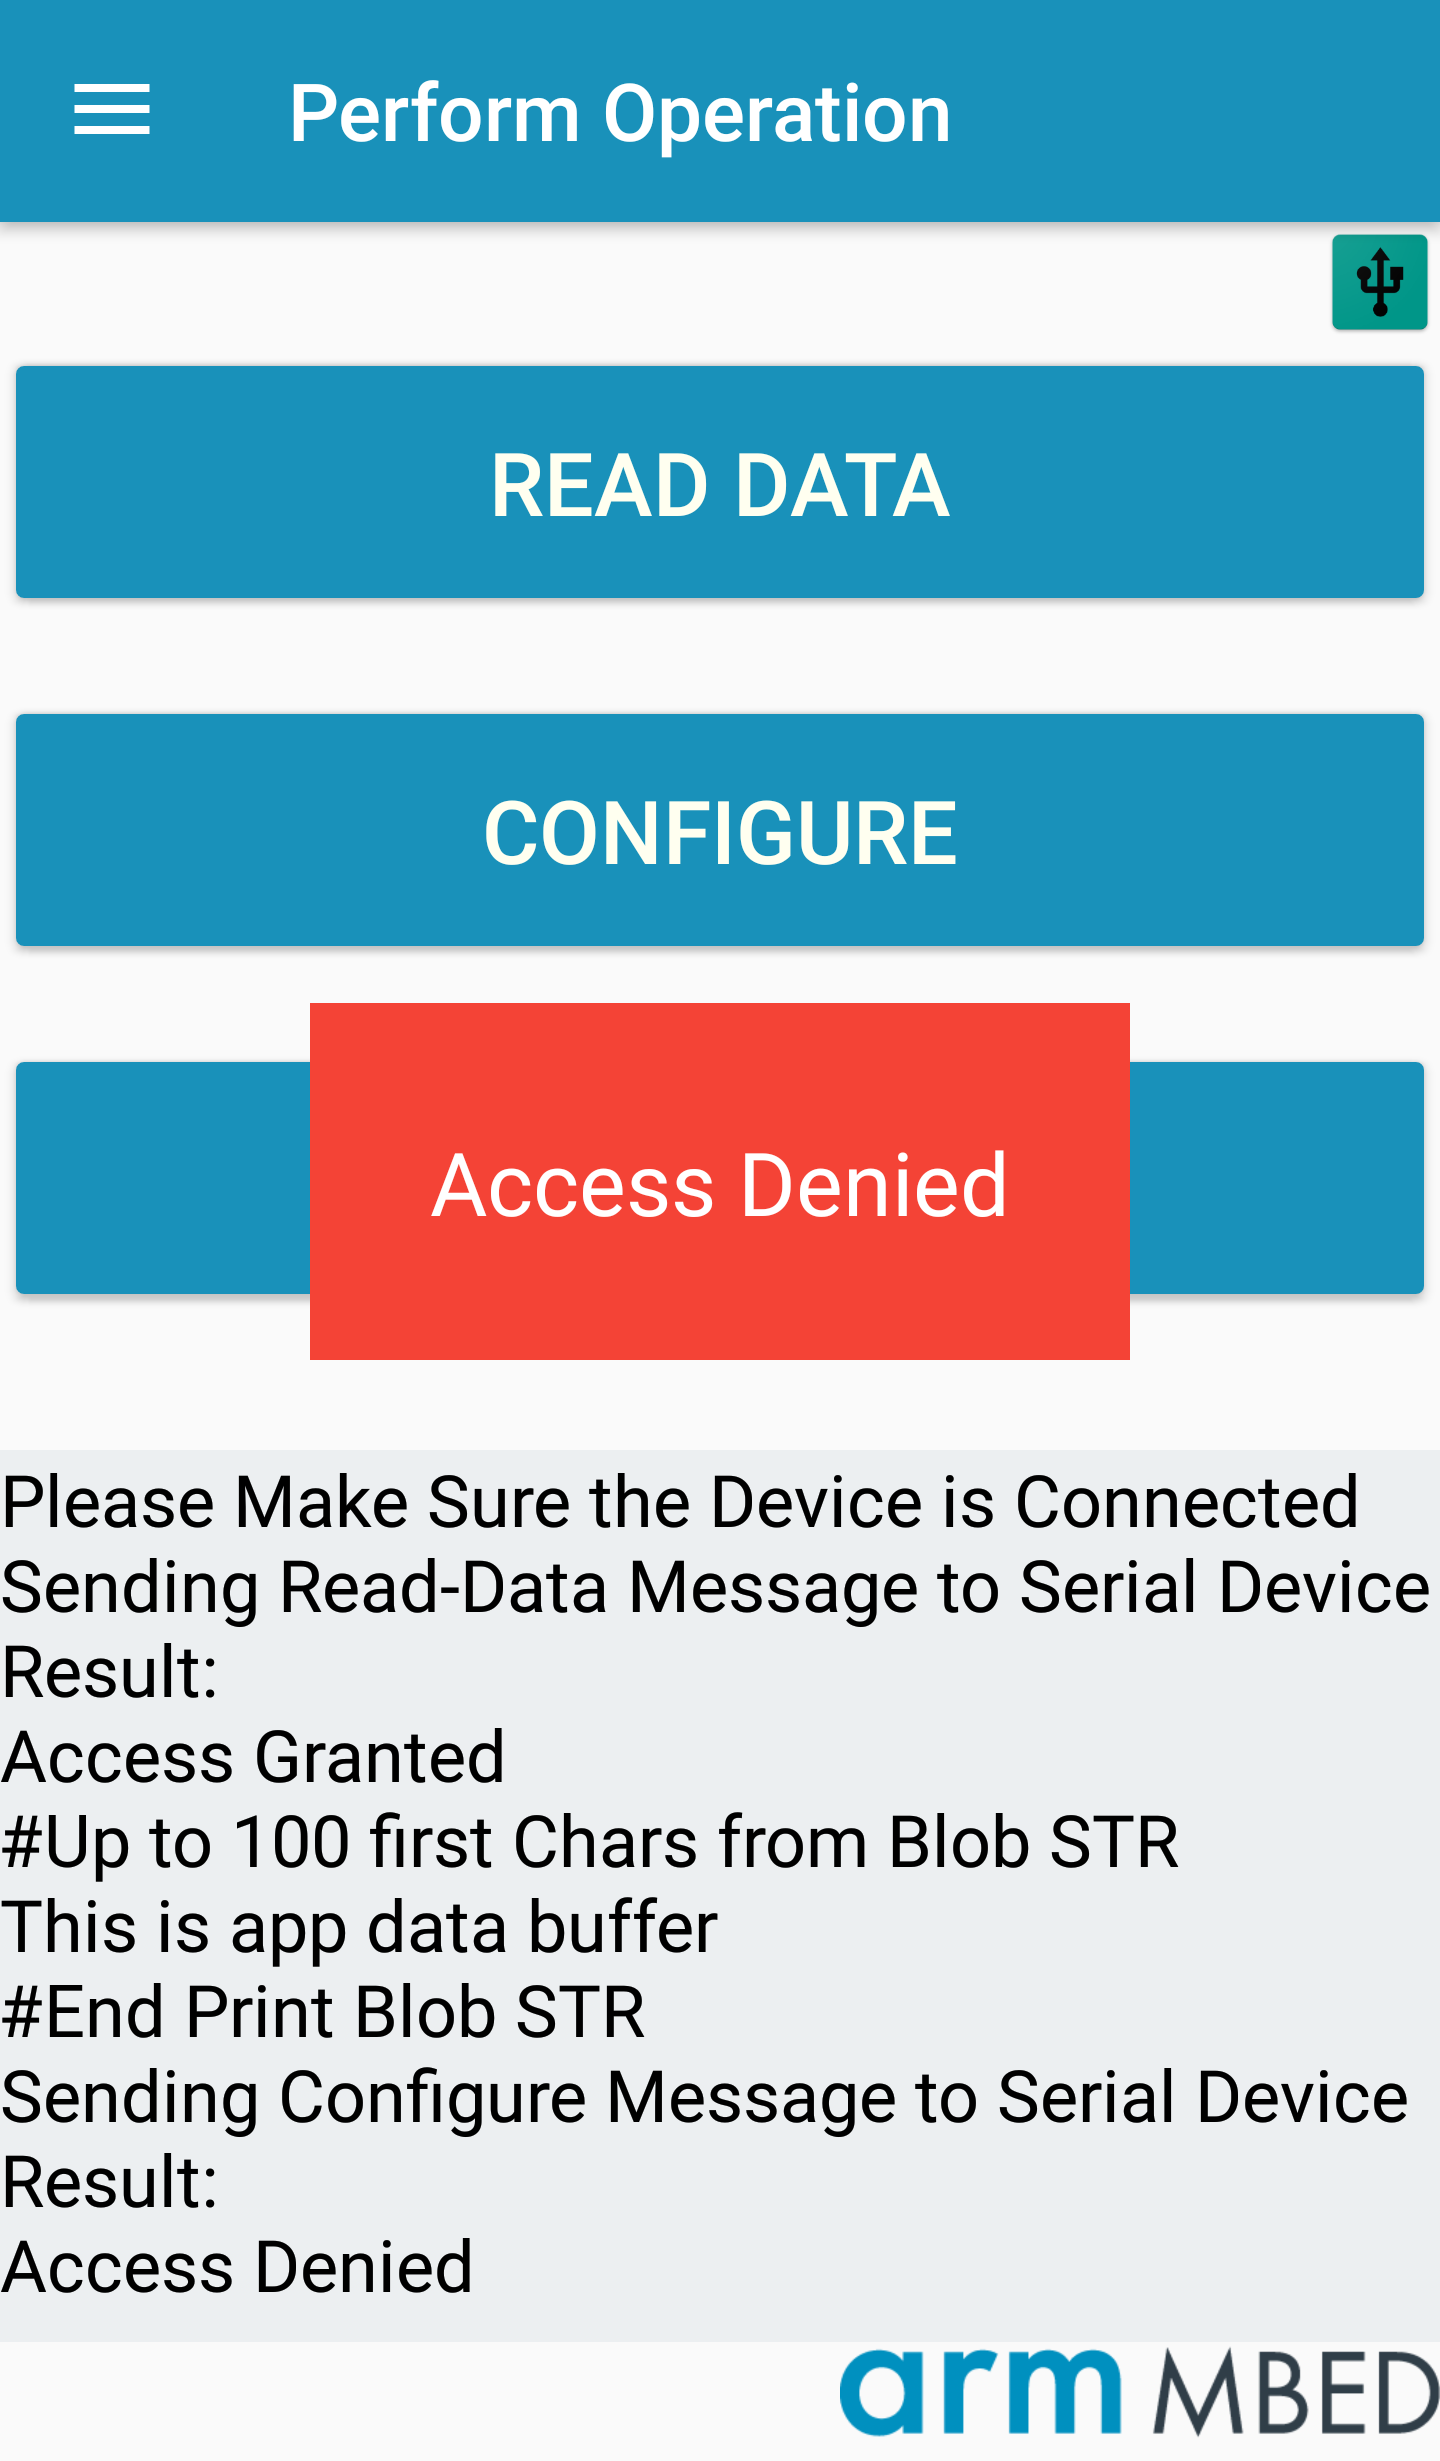
Tap any other operation.
The device blinks a red LED for 10 seconds.
The application displays an "Access denied" message because your access token does not include permissions to perform this operation.
Scenario 3: Technician 2 requests permission to perform all operations and is denied
-
From your Android device, log in to your Device Management account using the credentials of Technician 2.
-
Select all checkboxes to request permission to all operations.
-
Tap Get permissions.
The application displays an "Access denied" message because Technician 2 belongs to the technicians group, whose policy only allows the read data operation.
Scenario 4: Technician 2 requests permission to read data but then tries to perform another operation
-
From your Android device, log in to your Device Management account using the credentials of Technician 2.
-
Select the Read data checkbox.
-
Tap Get permissions.
You should receive notification of success. You can view the device log file for the operation, as described in scenario 1.
-
Connect the phone to the K64F, as explained in scenario 1.
-
Tap Read data.
The application displays an "Action Ended Successfully" message when the read operation is complete.
-
Tap Update.
The application displays an "Access denied" message because your access token does not include permissions to perform this operation.